
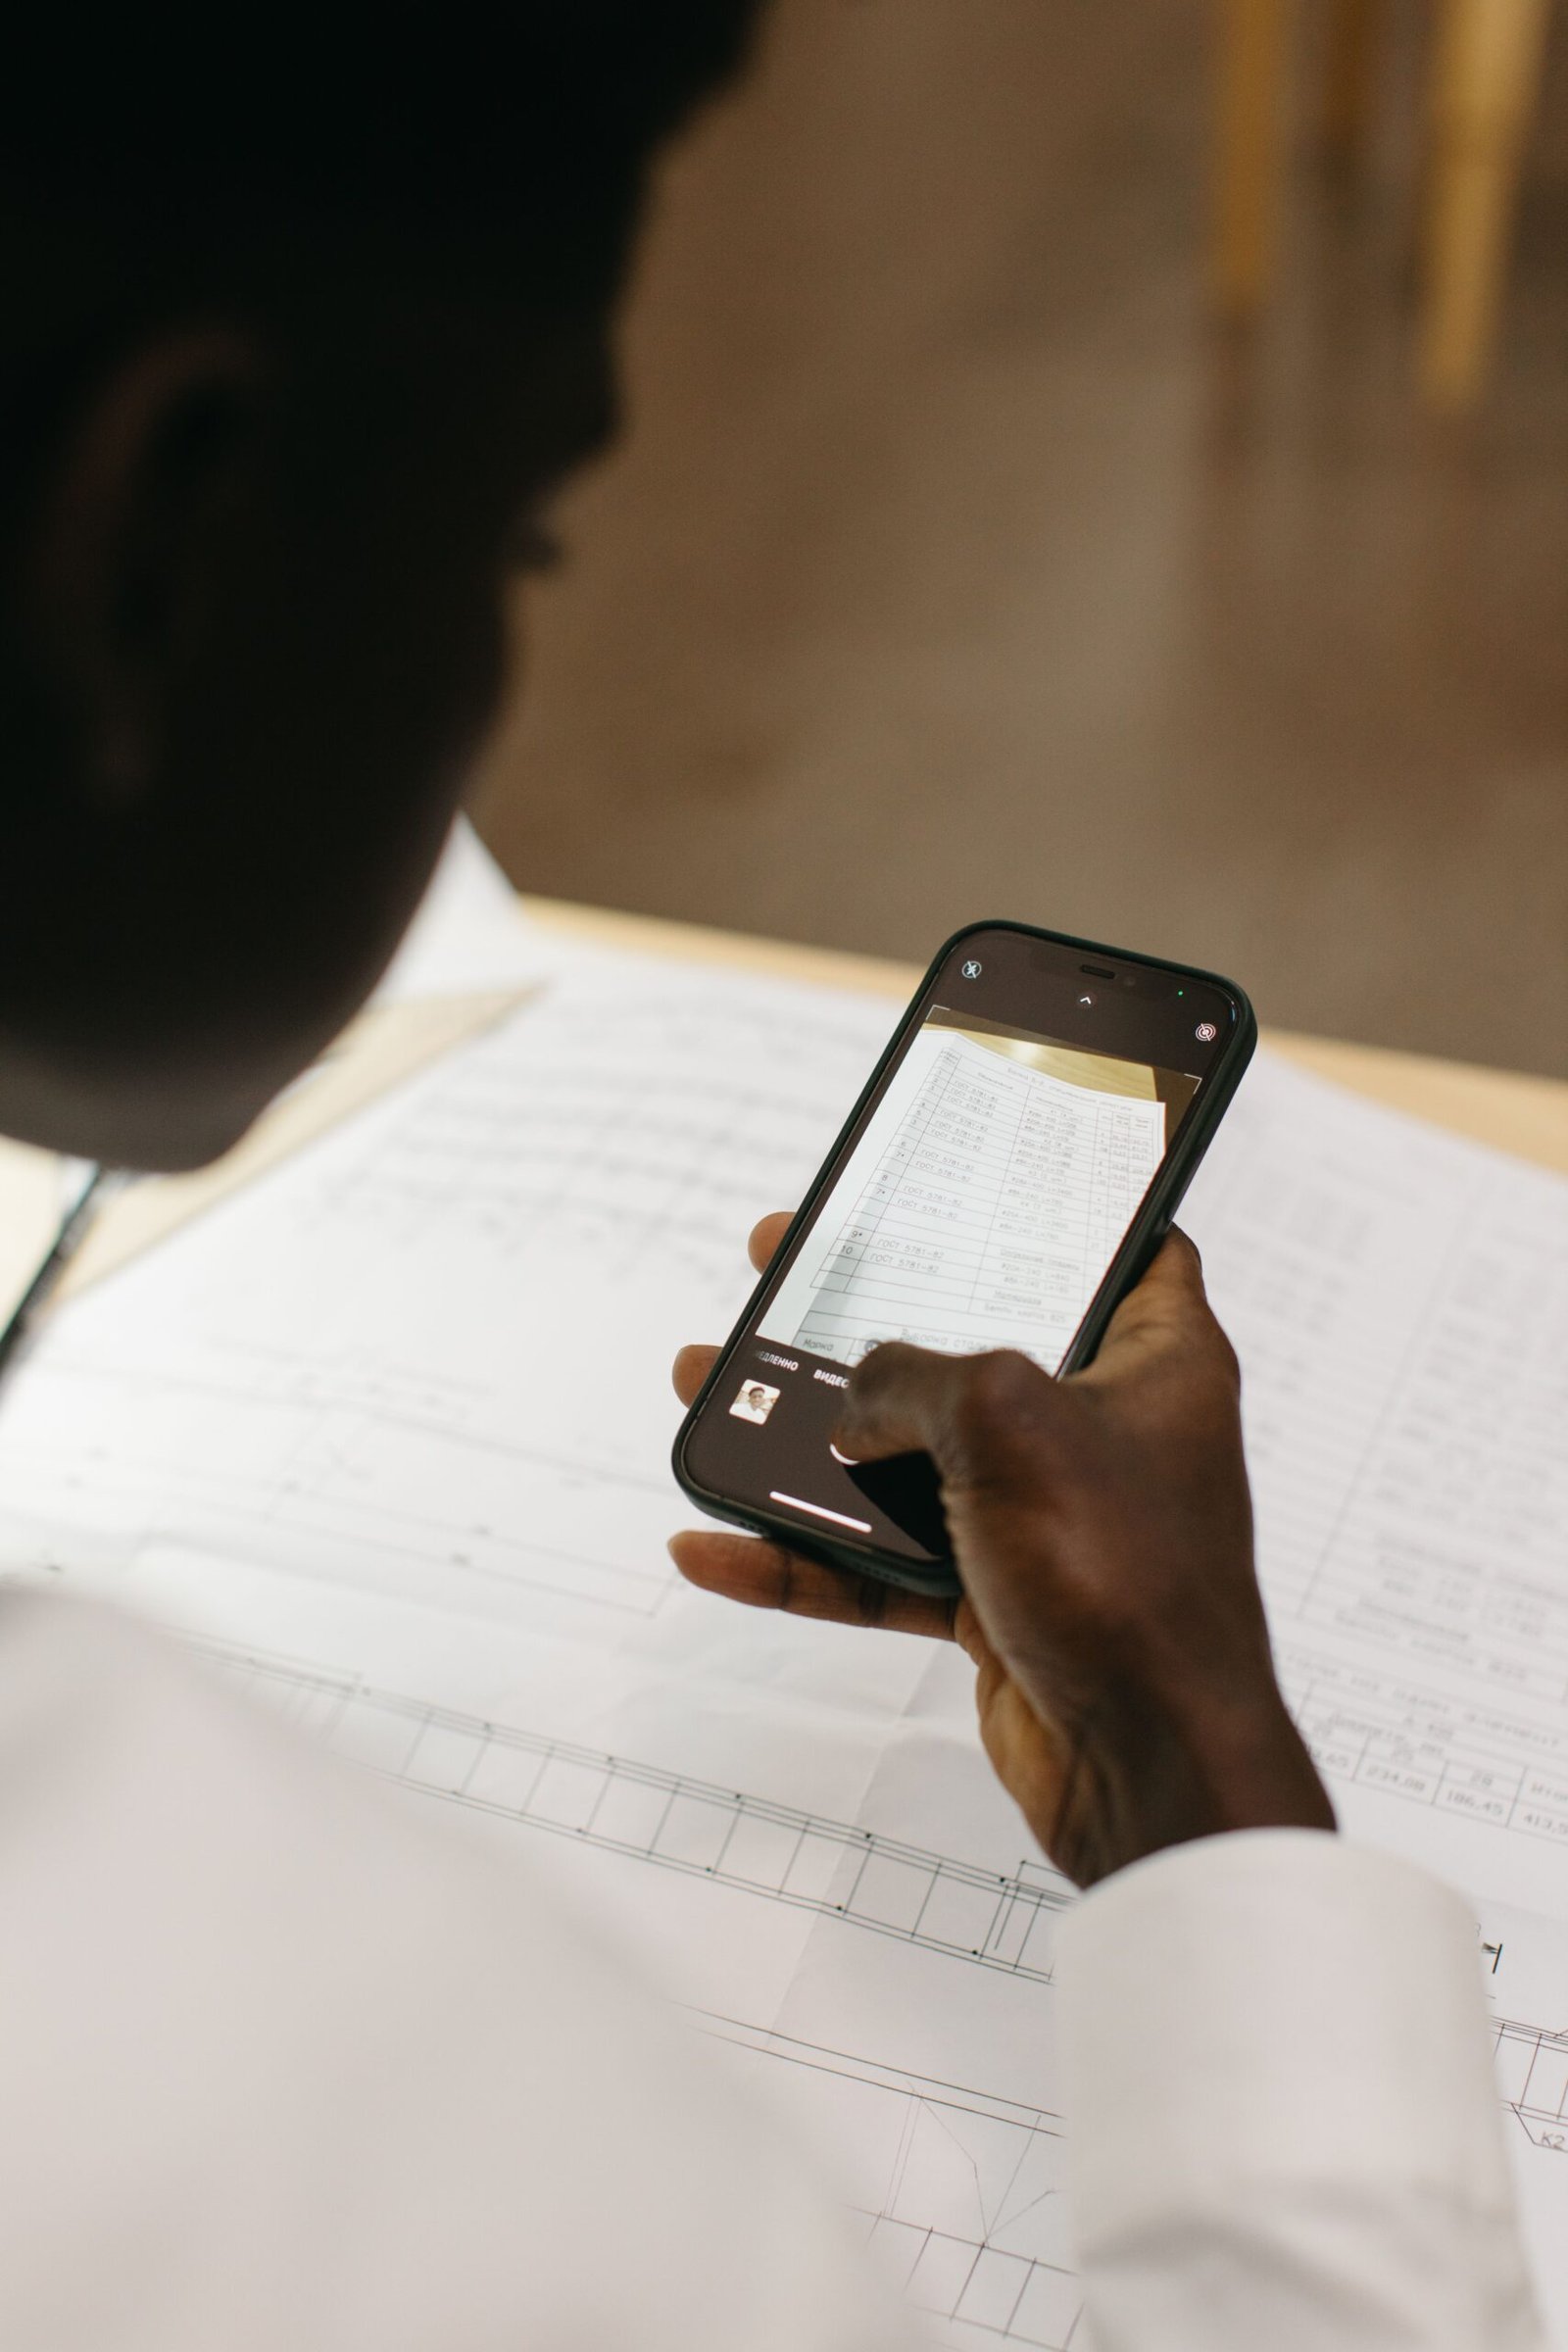
You do not always need a scanner to create a digital copy of a paper document.
Modern smartphones can capture documents using their cameras and, depending on the application, automatically detect the edges of the page, improve readability, and save the result as an image or PDF.
This can be useful when you need to save a receipt, form, invoice, handwritten note, school paper, or another document that currently exists only on paper.
Using your phone to scan a document is usually faster than taking an ordinary photograph because scanning tools are designed to make documents easier to read and store.
Why Scan a Document With Your Phone?
A scanned document can be easier to store, send, and organize than a physical piece of paper.
You might want to scan:
- Receipts
- Invoices
- Signed forms
- Contracts
- School documents
- Notes
- Travel documents
- Important letters
Instead of keeping the original paper somewhere in a drawer, you can create a digital copy for reference.
However, a digital copy should not always be considered a replacement for the original. Some official documents may require the physical version.
Choose a Good Place to Scan
The environment can make a big difference in scan quality.
Place the document on a flat surface.
A table or desk usually works well.
Try to use an area with good, even lighting. Avoid strong shadows across the page and reflections from glossy paper.
A dark room can make text harder to capture clearly, while very bright light directly above the page can create reflections.
Keep the Paper Flat
Wrinkled or folded paper can be difficult for a scanning application to capture correctly.
Smooth the document as much as possible before taking the picture.
If the page is curled, place it on a flat surface and gently straighten it without damaging it.
The flatter the page is, the easier it is for the camera to identify its edges.
Position Your Phone Correctly
Hold the phone above the document rather than at a sharp angle.
Try to keep the camera centered over the page.
If the phone is tilted too much, the document may appear distorted.
Modern scanning tools can often correct some perspective problems, but starting with a properly aligned photo produces a better result.
Use a Document Scanning Feature
Many smartphone applications include document scanning functions.
On some Android phones, you may find scanning tools in the camera, gallery, file manager, or another built-in application.
Other people use dedicated document scanning applications.
The exact steps vary depending on your phone model, Android version, and application.
Look for terms such as:
Scan document
Document scanner
Scan
Create PDF
The important thing is to use a feature designed for documents when one is available.
A smartphone scanning a paper document and detecting the edges of the page.
Check the Detected Edges
When a scanning application detects a document, it may place a border around the page.
Check the four corners carefully.
Make sure the application included the entire document and did not cut off:
- Text
- Signatures
- Dates
- Numbers
- Page edges
If the automatic crop is incorrect, adjust it manually when the application allows you to do so.
This is especially important with forms and documents containing information near the edges.
Make Sure the Text Is Readable
After scanning the document, zoom in and inspect the text.
Check small writing, numbers, signatures, and other important details.
A document can look fine when viewed as a small thumbnail but become difficult to read when opened at full size.
If the text is blurry, scan the page again rather than keeping a poor-quality copy.
Avoid Taking the Photo Too Far Away
Leaving too much empty space around the document can reduce the amount of detail captured.
Move the phone close enough for the page to fill most of the frame while keeping all four edges visible.
Do not move so close that corners of the document disappear from the image.
The goal is to capture the entire page at a useful resolution.
Avoid Strong Shadows
Your phone can cast a shadow over the paper when you hold it above the document.
Move the light source or your position if necessary.
You can also try scanning from a slightly different angle while keeping the phone as straight as possible.
Good lighting is often more important than using complicated settings.
Scan One Page at a Time When Necessary
For a multi-page document, you may need to scan each page separately.
Keep the pages in the correct order.
For example:
Page 1
Page 2
Page 3
If your scanning application supports multi-page documents, add each page to the same scan.
This can allow you to create one PDF instead of several separate files.
Review the Page Order
If the document has multiple pages, check the order before saving the final version.
A simple mistake such as putting the last page first can make the document confusing.
Review the page thumbnails when the scanning application provides them.
Make sure the first page is first and that no page was skipped.
Save the Scan as a PDF
PDF is often a practical format for scanned documents.
It allows multiple pages to be stored together and is widely used for forms, applications, reports, and other documents.
When the scanning application gives you a choice of formats, choose PDF when the recipient specifically asks for a PDF document.
For simple personal reference, saving the scan as an image may also be sufficient.
Give the File a Clear Name
Do not leave important scans with generic names such as:
Scan001.pdf
or:
Document_3.pdf
Rename the file to something descriptive.
For example:
Car_Insurance_2026.pdf
School_Form_2026.pdf
Electricity_Bill_August_2026.pdf
A clear filename makes the document much easier to find later.
Store Scanned Documents in the Right Folder
After creating the scan, move it to a suitable folder.
For example:
Documents
→ Bills
→ Insurance
→ Work
→ School
The exact structure depends on the types of documents you manage.
The goal is to create a predictable place where you can find the scan later.
Keep a Backup of Important Scans
A scanned document stored only on your phone can still be lost.
Your phone could be damaged, lost, or reset.
For important documents, keep another copy in a secure location.
Cloud storage, a computer, or an external storage device can provide another copy.
For particularly important records, having more than one backup can be useful.
Be Careful With Sensitive Documents
Scanned documents may contain highly sensitive information.
Examples include:
- Identification numbers
- Addresses
- Financial information
- Signatures
- Account details
- Personal records
Do not upload sensitive scans to unfamiliar websites simply because they offer free scanning, conversion, or compression services.
Also be careful when sharing scanned documents through messaging apps or email.
Send them only to the intended recipient.
Review the Entire Document Before Sharing
Before sending a scanned document, look through every page.
Check that:
The entire page is visible.
The text is readable.
The pages are in the correct order.
Nothing is missing.
There are no accidental extra pages.
The file contains only the information you intended to share.
This final review is particularly important when the document is being submitted for work, school, registration, or an official process.
Avoid Scanning in Poor Lighting
Poor lighting can make a document appear gray, blurry, or difficult to read.
If the first scan looks bad, improve the lighting and try again.
You usually do not need special equipment.
A clean surface and even room lighting can be enough for ordinary documents.
Use a Contrasting Background
A document with white pages is often easier for scanning applications to detect when placed on a darker surface.
This creates clearer contrast between the paper and the background.
You do not need a special scanning mat.
A normal desk or table can work well as long as the page is flat and clearly visible.
Clean the Camera Lens
A dirty camera lens can make scans look blurry even when everything else is correct.
Before scanning an important document, check the lens.
If necessary, gently clean it with a soft, clean cloth.
This simple step can make a noticeable difference in image clarity.
Do Not Edit the Original Document Unnecessarily
Most scanning tools can improve contrast, rotate pages, or remove the background around the document.
These adjustments can be useful.
However, do not modify the content of the document itself.
If you need to correct a mistake or alter information, create a separate working copy and follow whatever rules apply to the document.
For official records, preserving the original content is particularly important.
Scan Receipts While They Are Still Useful
Receipts can fade, become damaged, or get lost.
If a receipt is important, scanning it soon after receiving it can create a digital copy for your records.
This can be useful for:
Warranty claims
Expense reports
Returns
Tax-related records
Purchase records
However, keep the physical receipt when it is required as proof of purchase.
Scan Signed Documents Carefully
A signature is an important part of many documents.
When scanning a signed page, make sure the signature is clearly visible.
Avoid shadows or reflections that could make it difficult to distinguish the signature from the rest of the page.
After scanning, zoom in and verify that the signature and surrounding text are readable.
Use Multi-Page Scanning for Longer Documents
If your scanning tool supports multiple pages in one document, use it for longer paperwork.
For example, a five-page form can become one PDF instead of five separate images.
This is easier to send and usually easier for the recipient to read.
Before saving, review the page thumbnails to make sure every page was included.
A multi-page scanned document shown on a smartphone before being saved as a PDF.
What If the Scan Looks Crooked?
Some scanning applications automatically straighten documents.
If the result is still crooked, check whether you can adjust the crop manually.
You can also scan the page again while holding the phone more directly above it.
A small amount of correction is usually enough.
What If the Document Is Too Dark?
If the scan looks too dark, try improving the lighting before taking another image.
You can also use the document application’s enhancement options when available.
Do not over-edit the document.
The goal is to make the original content easier to read while keeping it accurate.
Do Not Rely on OCR Without Checking the Original
Some scanning applications use optical character recognition, or OCR, to recognize text in a scanned document.
This can be useful when you need to search or copy text.
However, automated text recognition can make mistakes.
Numbers, names, symbols, and unusual characters can sometimes be interpreted incorrectly.
If the information matters, compare the recognized text with the original scan.
Keep the Original Scan
If you edit or convert the scanned document, keep the original version when practical.
The original scan can be useful if you later need to create a different version.
For example, you might need a smaller PDF for uploading or a higher-quality copy for printing.
Keeping the original gives you more flexibility.
Delete Temporary Scans Later
Not every scan needs to remain permanently on your phone.
Once an important document is safely stored elsewhere, you can remove temporary copies from your device if you no longer need them.
This can help prevent unnecessary storage usage.
Before deleting anything, make sure the important copy really exists in your backup location.
A Simple Scanning Routine
For most documents, the process can be kept simple:
Place the paper on a flat surface.
Use good lighting.
Clean the camera lens.
Hold the phone above the document.
Scan the page.
Check the crop.
Review the text.
Add additional pages when necessary.
Save as PDF when appropriate.
Give the file a useful name.
Store a backup of important documents.
This routine is enough for many everyday scanning tasks.
Common Mistakes to Avoid
One of the most common mistakes is taking an ordinary photo from an angle and assuming it is a good scan.
Another is allowing shadows or reflections to cover important information.
People also sometimes forget to check the page order when scanning multiple pages.
Saving a sensitive document only on the phone is another avoidable problem.
Finally, do not assume that automatic text recognition is always perfect.
A quick review of the final scan can catch most of these issues.
When a Physical Scanner Is Still Better
A phone is convenient, but it is not always the best choice.
A dedicated scanner may be more appropriate when you need to process a large number of pages or achieve a highly consistent result.
It may also be preferable for professional archiving, high-volume office work, or documents where precise scanning quality is important.
For occasional everyday tasks, however, a smartphone can be a very practical alternative.
Scanning documents with a phone is one of those everyday tasks that becomes much easier once you know how to do it properly.
Good lighting, a flat surface, correct positioning, and a careful review are more important than complicated equipment.
The most important habit is to check the entire scan before saving or sharing it. Make sure every page is complete, readable, correctly ordered, and stored somewhere safe.
With a simple routine, your phone can turn ordinary paper documents into useful digital files without requiring a dedicated scanner.