
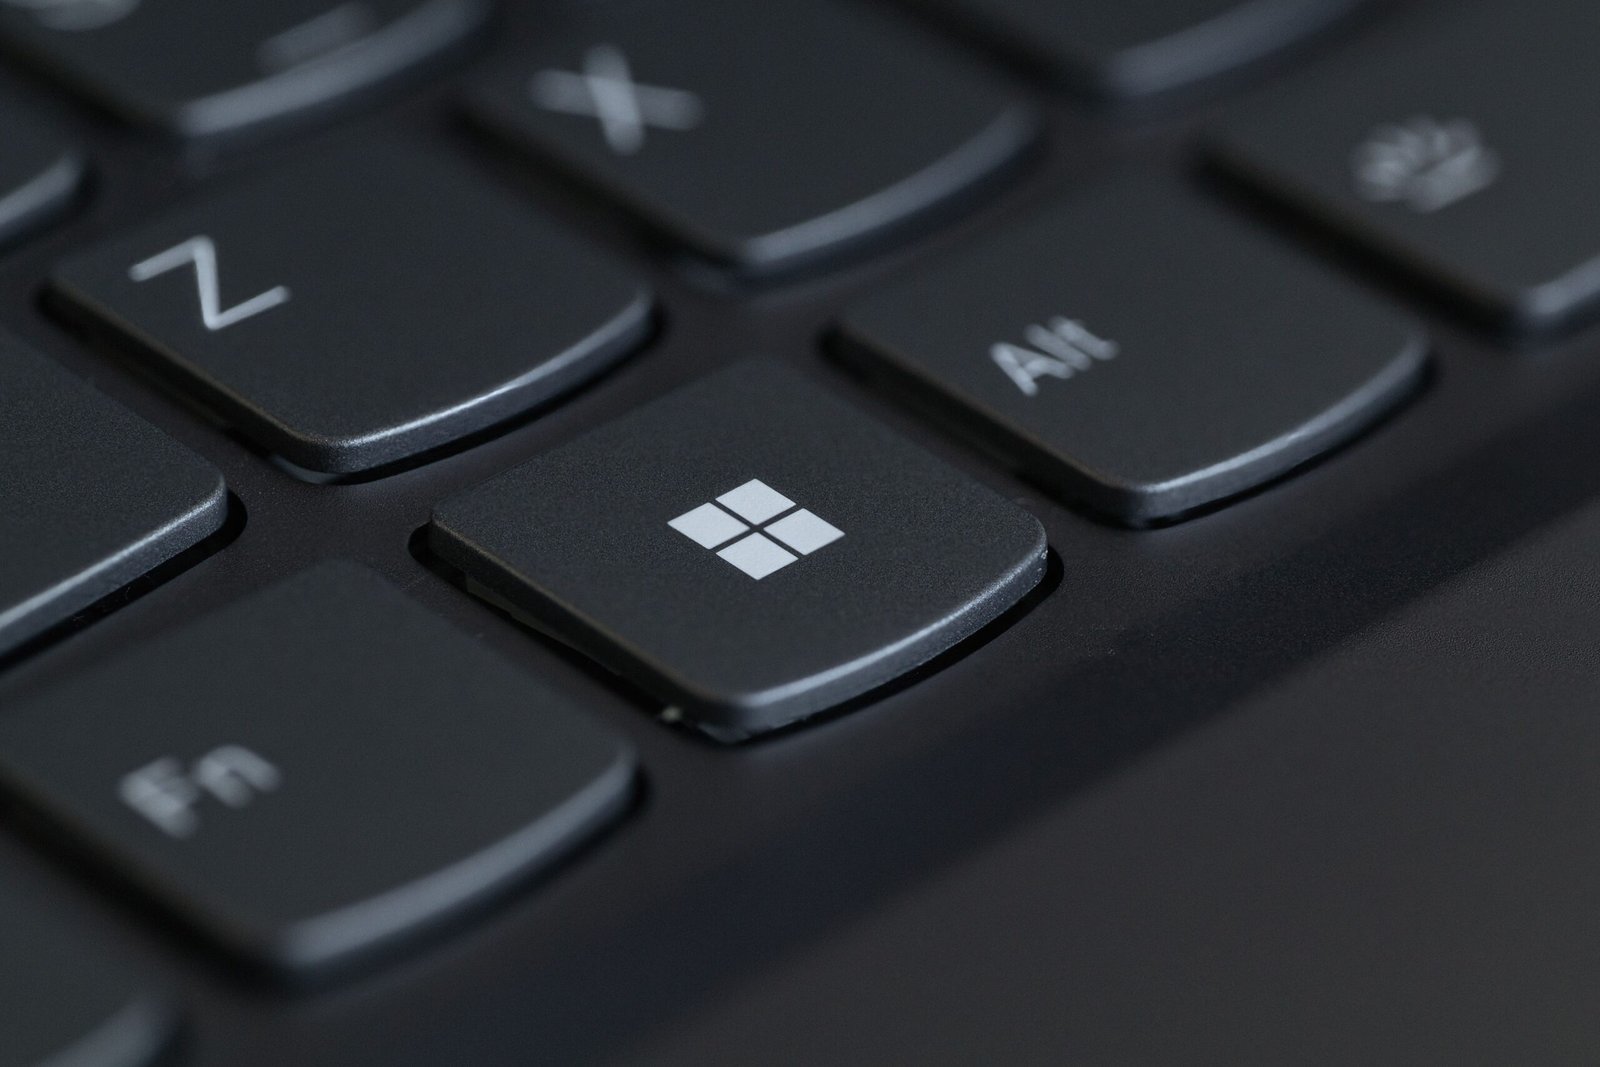
Taking a screenshot is one of the simplest ways to save what is currently displayed on your Windows computer.
You can use screenshots to save an error message, keep a record of something on a website, explain a problem to technical support, capture part of a document, or share instructions with someone else.
Windows provides several built-in ways to take screenshots, so you usually do not need to install additional software.
The best method depends on whether you want to capture the entire screen, one window, or only a specific area.
Why Screenshots Are Useful
A screenshot creates an image of what is displayed on your screen at a particular moment.
For example, you might use one to capture:
- An error message
- A confirmation screen
- An online receipt
- A website
- A software setting
- An important notification
- Part of a document
Screenshots are also useful when explaining computer problems to another person because you can show exactly what appeared on the screen.
Use Windows + Shift + S
One of the most useful screenshot shortcuts in Windows is:
Windows + Shift + S
This opens the Windows screen-snipping interface.
The screen becomes slightly dimmed and you can choose the area you want to capture.
Depending on your Windows version, you may see options for different types of captures.
This method is particularly useful because you do not have to capture the entire desktop.
Capture a Rectangular Area
After pressing Windows + Shift + S, the rectangular snip option is commonly selected by default.
You can then click and drag across the part of the screen you want to capture.
For example, if you only need a section of a website, select that portion instead of capturing the entire screen.
When you release the mouse button, Windows captures the selected area.
Capture a Specific Window
The screen-snipping tool can also allow you to capture a specific application window.
This is useful when you want to capture only a browser, File Explorer, Settings, or another program without including the rest of your desktop.
Select the appropriate window capture option and choose the window you want to capture.
This produces a cleaner screenshot than manually cropping a full-screen capture afterward.
Capture the Entire Screen
Another simple method is to press:
PrtScn
On many keyboards, this key is labeled PrtSc, Print Screen, or something similar.
Depending on your Windows settings and keyboard, pressing it may copy an image of the screen to the clipboard.
You can then paste the screenshot into an application such as Paint, Word, an email, or another program.
The exact behavior can vary between Windows versions and keyboard configurations.
Use Windows + PrtScn
Windows also provides another useful shortcut:
Windows + PrtScn
On supported systems, this captures the entire screen and saves the screenshot automatically.
This can be more convenient than copying the image to the clipboard.
The saved screenshot is typically placed in the user’s Pictures → Screenshots folder.
The exact location can vary depending on your Windows configuration.
Find Screenshots in the Screenshots Folder
If Windows automatically saves a screenshot, open:
File Explorer → Pictures → Screenshots
You can find your captured images there.
This is useful when you take several screenshots and want to review them later.
Give important screenshots descriptive filenames if you plan to keep them for a long time.
For example:
Windows_Error_2026-09-08.png
is easier to identify later than a generic automatically generated name.
Use the Snipping Tool
Windows also includes the Snipping Tool, which provides a graphical way to capture screenshots.
You can search for Snipping Tool from the Start menu and open it.
Depending on the Windows version, the application may provide options for:
Rectangular snips
Window snips
Full-screen captures
Timed captures
The available features can vary between versions.
Use a Delay for Difficult Screenshots
A timed screenshot can be useful when you need to capture something that disappears when you move the mouse away or click another location.
For example, a menu may close as soon as you click elsewhere.
A delay gives you time to prepare the screen before Windows takes the screenshot.
This can be useful for demonstrating menus and settings.
Edit a Screenshot Before Saving It
After taking a screenshot with the Snipping Tool, you can usually make basic changes before saving it.
Depending on the version, you may be able to:
Crop the image
Draw on it
Highlight information
Erase parts
Add markings
This can make a screenshot easier for another person to understand.
For example, you could highlight the exact button someone needs to click.
Crop Unnecessary Information
You do not always need to share the entire screenshot.
If only one section is important, crop the image before saving or sending it.
This makes the screenshot easier to understand and can also remove unrelated information from view.
For example, if you are explaining a setting, there is usually no reason to include the entire desktop.
Be Careful With Personal Information
Screenshots can contain more information than you realize.
Before sharing one, check whether it includes:
Email addresses
Phone numbers
Usernames
Account names
Notifications
Private documents
Addresses
Other personal information
Crop or hide anything that the recipient does not need to see.
This is especially important when screenshots are posted publicly or included in tutorials.
Check the Browser Before Capturing
When taking a screenshot of a website, look at the browser window first.
You may have a personal account signed in or information visible in the browser interface.
If you are creating an example for an article, use a public page or another screen that does not expose private information.
Take a Screenshot of an Error Message
Screenshots are especially useful when troubleshooting.
Suppose an application displays an error message.
Instead of trying to remember the exact wording, capture the screen.
You can then send the image to technical support or use it when searching for the problem later.
Make sure the screenshot does not accidentally include passwords, account information, or other private content.
Use Screenshots for Step-by-Step Instructions
Screenshots can make technical instructions easier to follow.
For example, an article explaining how to change a Windows setting can include a screenshot showing exactly which menu to open.
However, screenshots should support the explanation rather than replace it completely.
The reader should still understand what to do from the written instructions.
Save Screenshots in an Organized Folder
If you regularly take screenshots, they can accumulate quickly.
Create a simple folder structure when necessary.
For example:
Pictures → Screenshots → Work
Pictures → Screenshots → Personal
Pictures → Screenshots → Tutorials
You do not need to organize every screenshot into a separate folder.
The goal is simply to keep useful images easy to find.
Delete Temporary Screenshots
Many screenshots are only useful for a short time.
You might capture something to send to a colleague and never need the image again.
Review your Screenshots folder occasionally and delete images that no longer serve a purpose.
This can prevent hundreds of temporary images from taking up storage.
Do Not Use Full-Screen Captures When They Are Unnecessary
A full-screen screenshot may contain a lot of information that has nothing to do with what you are trying to show.
For example, if you want to demonstrate a single button, capturing the entire desktop creates unnecessary visual clutter.
A selected-area screenshot is often cleaner and easier to understand.
Choose the Right Method for the Situation
Different methods work better in different situations.
Use Windows + Shift + S when you want to select a specific area.
Use Windows + PrtScn when you want to save the entire screen automatically.
Use PrtScn when you want to copy the screen and paste it somewhere else.
Use the Snipping Tool when you want more control over the capture.
Once you learn these options, you can choose the fastest method instead of using the same shortcut every time.
Use Keyboard Shortcuts to Save Time
Keyboard shortcuts can make screenshots much faster.
The most useful ones to remember are:
Windows + Shift + S — select part of the screen
Windows + PrtScn — capture and save the full screen
PrtScn — capture the screen for pasting
You do not need to memorize every shortcut.
Learning just one or two that match your normal tasks can already save time.
Capture Only the Active Window When Appropriate
If you need to show one application, capturing the entire desktop may reveal unnecessary information.
Depending on your Windows version and keyboard, the traditional Alt + PrtScn shortcut can capture the currently active window.
This can be useful when you want to focus on a specific application.
The exact behavior can vary depending on your Windows configuration.
Check the Screenshot After Capturing It
Do not immediately send a screenshot without checking it.
Open the image and make sure:
The important information is visible.
Nothing is cut off.
The text is readable.
The correct screen was captured.
Private information is not accidentally visible.
This takes only a few seconds.
Check Image Quality
Most ordinary Windows screenshots are clear enough for reading menus and settings.
However, scaling and display resolution can affect how the final image appears.
If the screenshot is intended for a tutorial, make sure important text is large enough to read.
Avoid excessively shrinking the image when inserting it into a document or website.
Use PNG for Screenshots When Appropriate
Screenshots are often saved as PNG images.
PNG can preserve sharp text and interface details well.
It is commonly suitable for:
Windows settings
Application menus
Diagrams
Documents
Software interfaces
The appropriate format can depend on how you plan to use the screenshot.
Do Not Convert Screenshots Repeatedly
Repeatedly converting an image between different formats can unnecessarily complicate your workflow.
When possible, keep the original screenshot and create another copy when you need a different format.
This is especially useful if you plan to edit or reuse the image later.
Use a Meaningful Filename
If a screenshot matters enough to keep, rename it.
For example:
WiFi_Settings_Windows.png
Printer_Settings.png
Storage_Overview.png
A clear filename makes it much easier to locate the correct screenshot later.
Use Screenshots to Document Changes
Screenshots can also provide a record of what a setting looked like before you changed it.
For example, you could capture a Windows configuration before making a change.
If something does not work afterward, you have a visual reference of the original setting.
This can be useful when troubleshooting unfamiliar software.
Be Careful When Publishing Screenshots Online
If you plan to publish screenshots on a website, inspect them carefully.
A screenshot may reveal:
An email account
A Windows username
A Wi-Fi network name
A file path
A notification
A document title
A location
Private conversation content
Crop or hide information that is not necessary for the tutorial.
This is particularly important when the screenshot comes from your own computer.
Avoid Showing Passwords or Security Codes
Never publish screenshots that expose:
Passwords
Recovery codes
Authentication codes
Private keys
Full payment information
Sensitive account credentials
Even when you are creating a tutorial, use a fictional example or a screen that does not reveal real security information.
Use a Simple Example When Creating Tutorials
When creating screenshots for an instructional article, use test information whenever possible.
For example, instead of showing a real invoice, create a simple example document.
Instead of displaying a personal account, use a public or generic screen.
This makes the tutorial safer and easier for readers to understand.
The Windows Snipping Tool being used to capture a selected area of the screen.
What If the Print Screen Key Does Not Work?
Some keyboards use a different name or combination for the screenshot key.
On laptops, you may need to hold the Fn key together with another key.
If the traditional shortcut does not work, Windows + Shift + S is often a convenient alternative because it does not depend on the Print Screen key in the same way.
You can also open the Snipping Tool from the Start menu.
What If You Cannot Find the Screenshot?
If you used a method that copies the screenshot to the clipboard, the image may not have been saved as a file yet.
In that case, open an application such as Paint and press:
Ctrl + V
The captured image should be pasted there.
You can then save it as an image file.
If you used an automatic save method, check the Pictures → Screenshots folder.
A Simple Screenshot Routine
For everyday use, you only need a few steps:
Decide what you need to capture.
Use Windows + Shift + S for a selected area.
Or use Windows + PrtScn for the entire screen.
Check the result.
Crop or hide private information.
Save the screenshot with a useful name when necessary.
Then share or store it.
Common Mistakes to Avoid
One common mistake is sharing a screenshot without checking for personal information.
Another is capturing the entire desktop when only a small area is needed.
People also sometimes take screenshots but forget that a clipboard capture has not actually been saved as a file.
Using unclear filenames can make screenshots difficult to find later.
Finally, taking dozens of screenshots without periodically deleting temporary ones can unnecessarily increase storage usage.
Taking screenshots in Windows is simple because several useful tools are already included with the operating system.
For most situations, Windows + Shift + S is one of the most flexible options because it allows you to capture exactly the area you need. Full-screen shortcuts and the Snipping Tool provide additional options when appropriate.
The most important habit is to check the screenshot before sharing it. Make sure the correct information is visible, remove unnecessary details, and hide private information that the recipient does not need to see.