
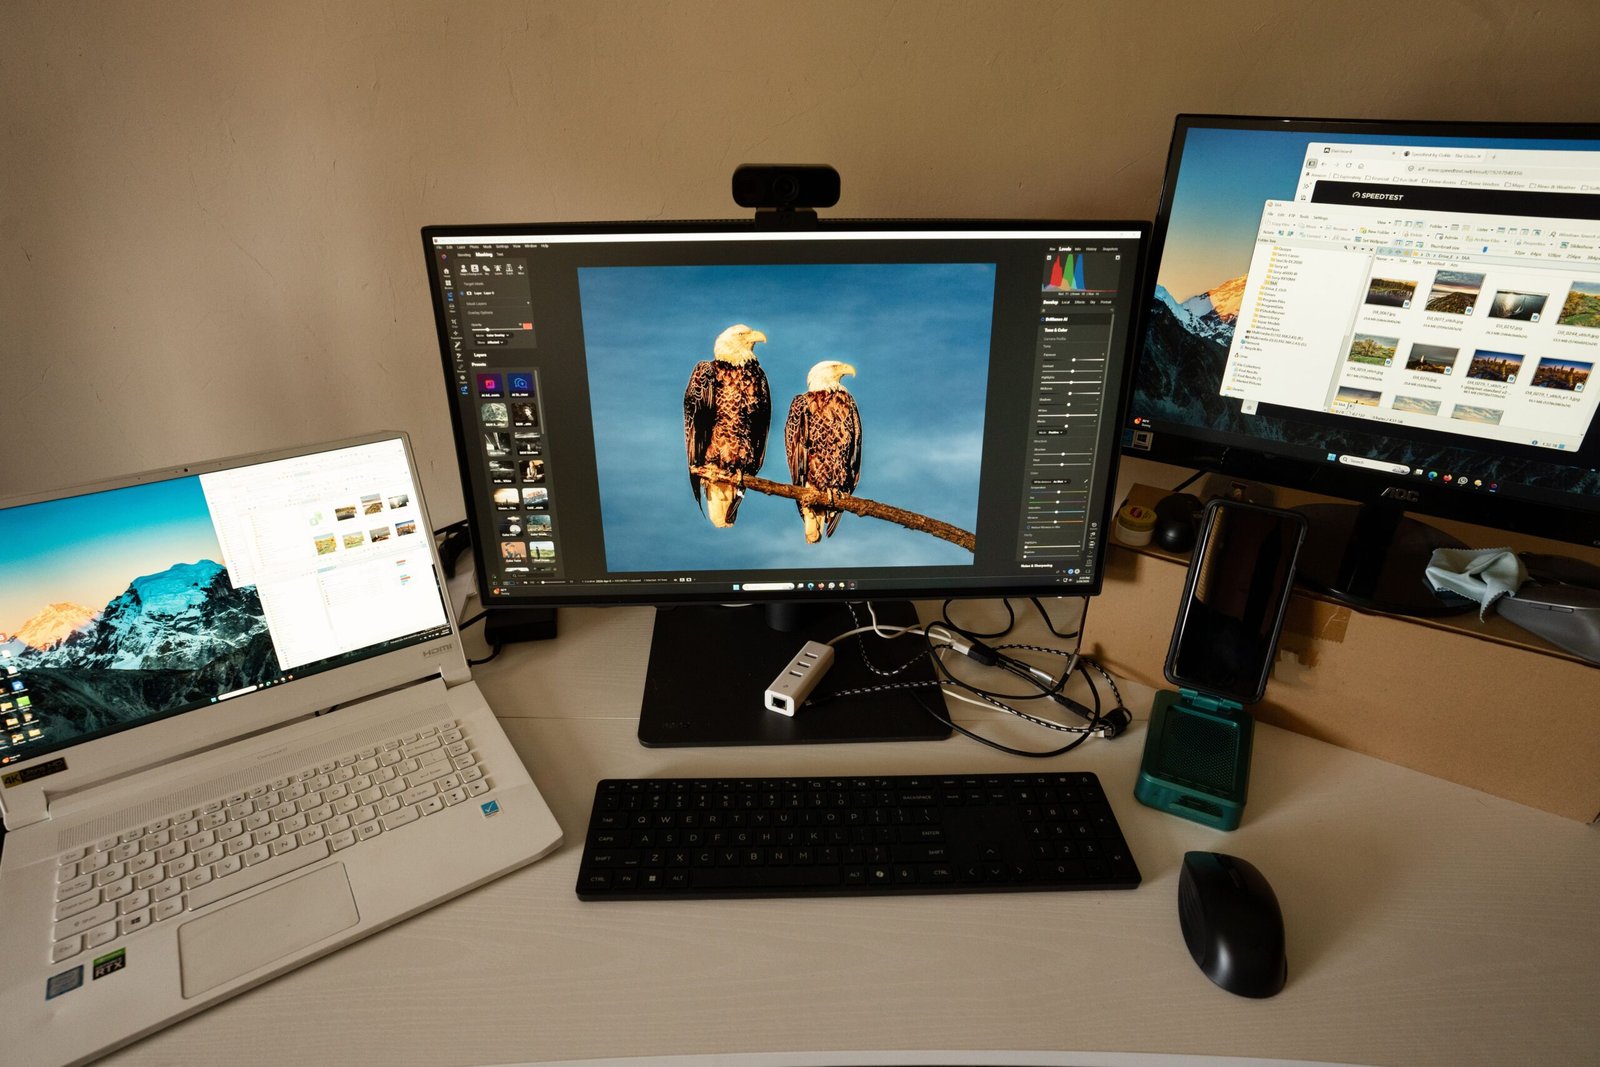
Adding a second monitor to a Windows laptop can make everyday work much easier. Instead of constantly switching between windows, you can keep two applications visible at the same time.
For example, you could use one screen for a browser and another for documents, spreadsheets, email, or video calls.
Windows supports multiple display configurations, but connecting a second monitor is not always as simple as plugging in a cable. You also need to choose the correct input on the monitor and configure how Windows should use the additional screen.
The good news is that the basic setup is straightforward.
Check the Ports on Your Laptop
Before buying or connecting anything, look at the ports available on your laptop.
Depending on the model, you may have:
HDMI
USB-C
DisplayPort
Mini DisplayPort
Some USB-C ports support video output, while others are designed only for charging or data.
Do not assume that every USB-C port can connect to a monitor.
Check your laptop’s specifications or documentation when you are unsure.
Check the Monitor’s Inputs
Next, look at the ports on the second monitor.
Common inputs include:
HDMI
DisplayPort
USB-C
Older monitors may also have other connection types.
The laptop and monitor do not necessarily need to use the same type of connector.
For example, you can use an appropriate adapter or cable when one device has HDMI and the other uses DisplayPort.
Choose the Correct Cable
Use a cable that supports the video connection required by both devices.
For a simple HDMI-to-HDMI setup, connect one end of the HDMI cable to the laptop and the other end to the monitor.
For other combinations, you may need an adapter or a different cable.
Be careful when purchasing inexpensive adapters. A cable that physically fits a port does not always support every feature you expect, such as video output at a particular resolution or refresh rate.
Connect the Monitor
With the laptop and monitor ready, connect the cable.
Turn on the monitor and make sure it is set to the input corresponding to the cable you used.
For example, if you connected the laptop through HDMI 1, select HDMI 1 on the monitor.
If the correct input is not selected, the monitor may display a message such as No Signal even though everything is connected correctly.
Let Windows Detect the Second Display
Windows will often detect the external monitor automatically.
After connecting the cable, wait a few seconds.
The second display may appear immediately.
If nothing happens, Windows provides display settings that allow you to manually detect additional displays.
Do not change advanced settings immediately. Start by checking the physical connection and monitor input first.
Open Display Settings
On Windows, right-click an empty area of the desktop and select Display settings.
You should see a representation of your connected screens.
Windows may label them as:
1
2
The exact arrangement depends on how your displays were detected.
This is where you can choose how the two screens should work together.
Choose How You Want to Use the Second Monitor
Windows typically provides several display options.
The most common are:
Duplicate
Extend
Show only on 1
Show only on 2
For a second monitor used as additional workspace, Extend is usually the most useful option.
It allows you to move windows between the laptop screen and the external monitor.
Windows Display settings showing two detected monitors and the options for extending or duplicating the display.
Understand Duplicate and Extend
The difference between these two options is important.
Duplicate shows the same content on both screens.
This can be useful when presenting something to another person.
Extend turns the second monitor into additional workspace.
This is useful when you want different applications visible on each screen.
For example, you could keep a browser on the laptop screen and a spreadsheet on the external monitor.
Arrange the Displays Correctly
In Display settings, Windows allows you to arrange the screens visually.
You might see:
1 | 2
or another arrangement.
The position should match the physical setup on your desk.
For example, if the external monitor is physically to the left of the laptop, place display 2 to the left of display 1 in Windows settings.
This makes moving the mouse between the screens feel natural.
Identify Which Screen Is Which
If you are unsure which monitor Windows has identified as display 1 or display 2, use the Identify option in Display settings when available.
Windows can show a large number on each physical screen.
This helps you determine which display corresponds to each number in the settings.
Choose the Main Display
You can also choose which screen should be your primary display.
The main display is generally where Windows places the taskbar and some default windows.
If you use the external monitor more often, you may prefer to make it the main display.
Select the desired monitor in Display settings and look for the option to make it the main display.
Choose the Right Resolution
Windows usually selects a recommended resolution automatically.
For the clearest image, use the monitor’s recommended resolution whenever practical.
A wrong resolution can make text appear blurry, stretched, or unusually large.
Open the display settings and look for the Display resolution option.
The available resolutions depend on your monitor and graphics hardware.
Check the Refresh Rate
Some monitors support higher refresh rates.
Windows lets you review the available refresh-rate options under the advanced display settings.
A higher refresh rate can make movement appear smoother, especially on supported monitors.
However, the available options depend on both the monitor and the connection being used.
Choose a setting supported by the monitor rather than simply selecting the highest number available.
Adjust Text Size When Needed
A second monitor may have a different screen size or resolution from your laptop.
As a result, text can appear much larger or smaller than expected.
Windows provides scaling options that allow you to adjust the size of text and other interface elements.
This can help make both displays more comfortable to use.
You do not necessarily need to use the same scaling percentage on both screens.
Check the Orientation
Some monitors can be rotated vertically.
Windows supports different display orientations, including:
Landscape
Portrait
If you are using a monitor vertically for documents or long web pages, select the appropriate orientation in Display settings.
Make sure the physical monitor is actually rotated before changing this setting.
Test Moving a Window Between Screens
Once the second monitor is configured, open a normal application window and move it toward the edge of the laptop screen.
When the displays are arranged correctly, the window should move naturally onto the second monitor.
If the cursor seems to hit an invisible wall or appears on the wrong side, return to Display settings and adjust the screen arrangement.
Connect the Monitor Before Opening Some Applications
Some applications remember the display on which they were last used.
If you open a program before connecting the second monitor, it may initially appear on the laptop screen.
After connecting the external monitor, move the application manually to the screen you want.
Windows can also remember some window positions depending on your settings and hardware configuration.
Use Keyboard Shortcuts
Windows provides a convenient keyboard shortcut for choosing how the displays should work.
Press:
Windows + P
A small panel will appear with display options such as:
PC screen only
Duplicate
Extend
Second screen only
This can be much faster than opening Display settings every time you need to change the display mode.
Switch Between Display Modes When Needed
You do not have to use the same configuration all the time.
For example, you might normally use:
Extend
for everyday work.
When presenting something to another person, you might temporarily use:
Duplicate
Windows + P makes switching between these modes relatively quick.
Check the Audio Output
Connecting a monitor through HDMI or another digital connection may make an audio device associated with the monitor available.
If you expected sound from your laptop speakers but the audio starts coming from the monitor, check Windows sound settings.
Select the output device you want to use.
The exact options depend on the monitor and connection.
Check the Monitor’s Speakers
Not every monitor has built-in speakers.
Some may appear as audio devices even though they have limited or no speaker hardware.
If Windows sends audio to the monitor but you hear nothing, check both Windows’ output device and the monitor itself.
Use a Docking Station When Appropriate
Some laptops have limited display connectivity.
A USB-C docking station or hub can provide additional display outputs when it is compatible with the laptop and supports video output.
This can be useful when you need:
Two monitors
USB devices
Ethernet
Power
Other peripherals
Not every dock supports every laptop or display configuration, so verify compatibility before purchasing one.
Check USB-C Video Support
USB-C can be confusing because the connector looks the same even when the capabilities differ.
Some USB-C ports support video output through compatible standards, while others may not.
If a USB-C monitor connection does not work, check whether the laptop’s USB-C port supports display output.
A compatible cable is also important.
What If the Monitor Says No Signal?
If the monitor displays No Signal, start with the basics.
Check that the cable is connected securely.
Confirm that the monitor is using the correct input.
Disconnect and reconnect the cable.
Try another compatible port if available.
Restart the laptop if necessary.
If the monitor works with another device, the laptop’s settings or video output may need further investigation.
Try Windows + Ctrl + Shift + B
Windows includes a keyboard shortcut that can restart the graphics driver.
Press:
Windows + Ctrl + Shift + B
The screen may briefly go blank or flicker.
You may also hear a short sound.
This can sometimes help when the display system has temporarily stopped responding.
It does not replace proper troubleshooting if the problem keeps returning.
Restart the Laptop
A simple restart can resolve temporary display-detection problems.
If Windows does not recognize the external monitor after you have checked the cable and input, restart the computer with the monitor connected.
After Windows starts, check Display settings again.
Check for Graphics Driver Updates
Graphics hardware relies on drivers.
If an external monitor consistently fails to work, especially after a Windows update or hardware change, the graphics driver may need attention.
Use the official support channel for your laptop or graphics hardware manufacturer when updating drivers.
Avoid downloading unknown graphics drivers from random websites.
Check Windows Update
Windows updates can include fixes for hardware and display compatibility.
Open:
Settings → Windows Update
and check whether important updates are available.
After installing updates, restart the computer when prompted and test the monitor again.
Check the Cable With Another Device
If you suspect that the cable may be faulty, test it with another compatible device when possible.
For example, connect the same cable to another laptop or computer that you know works with the monitor.
If the second device also fails, the cable or monitor input may be the problem.
This type of simple test can help isolate the faulty component.
Check the Monitor With Another Computer
You can also connect the monitor to another computer.
If it works normally with the second computer, your original laptop may be the source of the problem.
If the monitor still shows no signal, investigate the monitor, cable, or input selection.
Testing each component separately is more useful than changing several things simultaneously.
Check the Display Arrangement Again
Sometimes the second monitor is detected but the arrangement is confusing.
For example, Windows may think the external monitor is physically above the laptop when it is actually beside it.
In Display settings, drag the monitor representations until they match the physical arrangement.
This small adjustment can make a major difference when moving windows and the mouse between screens.
Avoid Choosing Unsupported Settings
If the monitor becomes unstable after changing the resolution or refresh rate, return to the recommended settings.
Do not force a resolution or refresh rate that the monitor does not support.
If Windows provides a recommended setting, start there.
Check the Recommended Resolution
Different monitors are designed for different resolutions.
For example, a modern monitor may use a higher native resolution than an older display.
Using the monitor’s recommended resolution generally provides the clearest image.
If text appears blurry after connecting the monitor, resolution and scaling are two of the first settings to check.
Use the External Monitor as the Main Screen
If you connect your laptop to a large monitor at a desk, you may prefer to use the external screen as the primary display.
This can make the setup feel more like a desktop computer.
Select the monitor in Display settings and choose the option to make it the main display.
You can still keep the laptop screen available as a second workspace.
Close the Laptop Lid Carefully
Some users want to close the laptop lid while continuing to use the external monitor.
This is possible on many Windows laptops, but the power settings determine what happens when the lid closes.
Before doing this, confirm that Windows is configured to keep the computer running when the lid is closed.
Also make sure the laptop can receive adequate ventilation.
Disconnect the Monitor Properly
When you are finished using the external monitor, disconnect the cable after closing or moving applications as appropriate.
If you plan to use the monitor regularly, there is usually no need to change every display setting each time.
Windows can often remember the arrangement.
Keep the Setup Simple
You do not need advanced display equipment for a basic two-screen workspace.
A compatible cable, a supported monitor, and the appropriate Windows display settings are usually enough.
Start with the simplest setup before adding docks, adapters, or additional accessories.
A Simple Two-Monitor Setup Routine
For a normal laptop and monitor connection, follow this order:
Check the laptop’s video port.
Check the monitor’s input.
Connect the correct cable.
Select the matching monitor input.
Open Windows Display settings.
Confirm that both screens are detected.
Choose Extend if you want additional workspace.
Arrange the displays to match your desk.
Check resolution and scaling.
Test moving windows between screens.
This covers the most important parts of the setup.
Common Mistakes to Avoid
One common mistake is selecting the wrong input on the monitor.
Another is assuming that every USB-C port supports video.
People also sometimes choose Duplicate when they actually want Extend.
Incorrect display arrangement can make the mouse behave strangely between screens.
Finally, repeatedly changing advanced resolution or refresh-rate settings without knowing what the monitor supports can create unnecessary problems.
When an Adapter Is Necessary
You may need an adapter when the laptop and monitor use different connector types.
For example:
USB-C → HDMI
or:
DisplayPort → HDMI
The adapter must support the type of video signal required by the devices.
When the display does not work through an adapter, check the adapter specifications before assuming the laptop or monitor is defective.
When a Docking Station Makes Sense
A docking station becomes more useful when your laptop is part of a permanent desk setup.
It can allow you to connect:
Monitor or monitors
Keyboard
Mouse
Ethernet
External storage
Power
with fewer individual connections.
However, a dock is not necessary for a simple one-monitor setup when your laptop already has a compatible video port.
When the Laptop Cannot Support a Second Monitor
Some laptops have limitations on the number of displays they can support.
This can depend on:
Graphics hardware
USB-C capabilities
Docking hardware
Available video outputs
The specific laptop model
If a second monitor is not detected even after troubleshooting, check the laptop manufacturer’s specifications.
Back Up Important Work Before Troubleshooting
If the monitor problem is connected to graphics or system issues, make sure important work is saved.
For important projects, keep regular backups so that a display problem does not become a data-loss problem.
A monitor problem should not put your documents or projects at risk.
Keep the Monitor Setup Consistent
Once the displays are working correctly, try to keep the arrangement stable.
For example:
Laptop on the left
External monitor on the right
This makes it easier to remember where applications and windows should appear.
A predictable setup also reduces the need to constantly adjust Display settings.
Make the Second Monitor Part of Your Workflow
The biggest advantage of a second monitor is having more visible workspace.
You can keep one application on one screen and another on the second.
For example:
Laptop: Email and messaging
Monitor: Spreadsheet or document
Or:
Laptop: Video call
Monitor: Presentation or notes
You can experiment with the arrangement that works best for the tasks you perform most often.
Connecting a second monitor to a Windows laptop is usually a straightforward process once the correct cable, monitor input, and display mode are selected.
The most important settings are Extend, Duplicate, display arrangement, resolution, and scaling.
When something does not work, start with the physical connection and monitor input before changing advanced Windows settings.
A simple two-monitor setup can make everyday computing much more comfortable, especially when you regularly work with multiple applications at the same time.